Creating a Functional Outdoor Cooking Space
Building a DIY outdoor kitchen island transforms your backyard into a perfect social hub while enhancing your home’s value. By focusing on durable materials and smart design, you can create a space that withstands weather and meets your cooking needs. Whether grilling, prepping, or serving, a well-crafted island brings convenience to your outdoor gatherings.
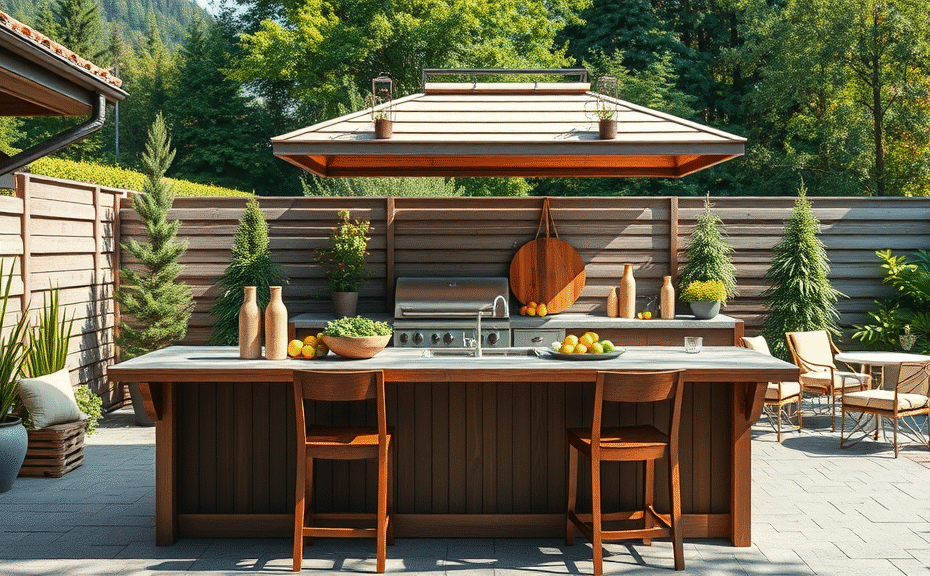
Choosing the Right Materials
Selecting weather-resistant materials like stainless steel, stone, and treated wood is essential for your project. Concrete countertops offer durability and a sleek look, while reclaimed wood adds rustic charm. For the base, consider cinder blocks or waterproof plywood to ensure structural integrity. Using materials designed to endure the elements guarantees your outdoor kitchen island lasts for seasons to come.
Essential Features for Practicality
Incorporate features that boost functionality:
- Counter space: Ample room for prepping and serving meals.
- Storage: Cabinets or shelves to keep utensils and supplies organized.
- Appliances: Built-in grills, mini-fridges, or sinks enhance utility.
- Seating: Bar stools or benches encourage social interaction.
A DIY outdoor kitchen island designed with these elements lets you cook and entertain effortlessly.
Easy Steps for Assembly
Start by sketching your design with measurements tailored to your space. Gather materials and tools, then construct the frame followed by the countertop. Incorporate your preferred appliances and storage solutions. Sealing surfaces against moisture extends longevity. A well-planned DIY outdoor kitchen island project blends creativity with practicality, resulting in an inviting outdoor oasis ready for any gathering.